
Creating My First GIF
Reading
The book "Animated Storytelling" by Liz Blazer is the perfect read for those looking to start their own creative visual projects. In the first chapter, Blazer breaks down the pre-production process for creating an animation.

It's important to start with concept development through a creative brief. The creative brief is a document that explains the client's aims and objectives, target audience and milestone deadlines. It should answer the questions:
- What must it be?
- Who's it for?
- How long must it be?
- What's the objective?
- When's the deadline?
After coming up with the creative brief, you summon the muse. This means you figure out what exactly the project is and develop the big picture. A good tip Blazer points out is to brainstorm and hand write ideas on post-its or a blank page. This allows the brain to flow more ideas. While figuring out the big picture, a question to ask is "yes, and..." By doing this, more ideas will develop one after the other while exercising your creativity. Asking "yes, and..." after each idea lets you explore your creative decisions.
Once the ideas are developed, Blazer says you zero in on one by creating the elevator pitch, which explains the tone, plot and theme of the story. After the elevator pitch comes the six word story and tagline, further refining the big picture.
After the creative development is thought of, you then begin the pre-visualization process, or the concept art. This essentially defines the look and feel of the production before the production begins. During this process, it's important to get inspired and experiment. Impacting the story with design is another way to pre-visualize. This means a visual element in an animation can change the entire storyline. Every visual matters, so it's important to pay close attention to detail and see how everything in the visual story connects with one another and adds to the storyline.
The final step in the pre-production process, according to Blazer, is asset building. Assets are all the pieces that allow for animation. These include logos, character designs, replacement pieces, props, backgrounds, live action files, fonts, color scripts, sound effects, and more. Once the assets are collected, it's time to create a style frame. A style frame is a single image that captures the overall look and feel of the animation. It expresses the visual intention of the project.
There are many steps in the pre-production process to ensure the project is headed in the right direction. Reading chapter one of "Animated Storytelling" made me think of how I can apply these pre-production techniques into my own GIF projects. Below is some GIF examples I found that helped me brainstorm my ideas and get inspired!
Research
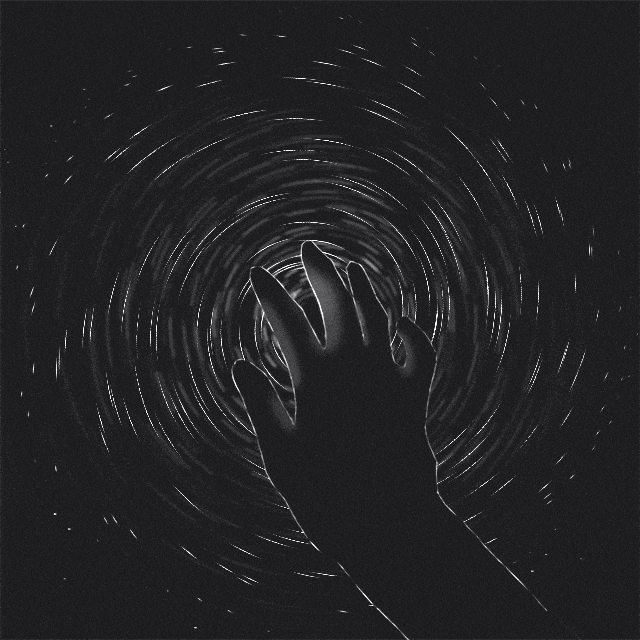
This GIF of stars spinning behind a hand looks like a seamless, never ending loop, which I find to be very impressive. The simple, yet captivating design keeps a viewer hooked on the image. I like the simplicity of the black and white theme, yet the shading on the fingers and the spinning of stars bring the animated image together.
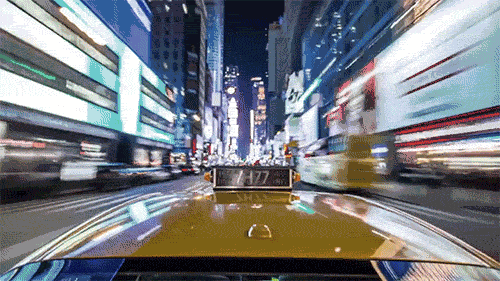
This quick GIF represents the faced paced NYC well. I like how this GIF is a looped time-lapse that's creative and has a lot happening in the image. It's also interesting to see how it is one image with so many elements.
This GIF uses photography well and creates an image that has movement while keeping the same core elements, such as the house, couple, pavement and grass. I thought this clever use of images is an effective way to create an interesting GIF.

This animated GIF is a great example that has an interesting design with impressive hand drawn art with movement. The loops are seamless and captivating. There is also a lot of attention to detail in this image.
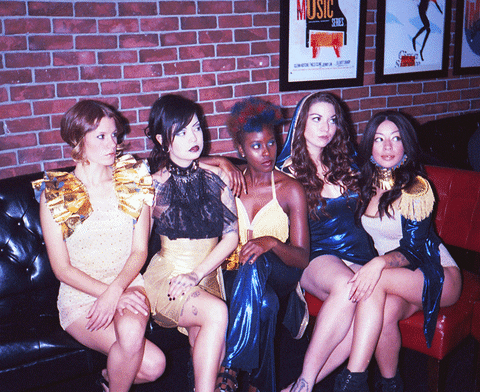
I found this to be a really good example of a cinemagraph. The placement of the group of women show the background shadows really well, giving dimention, as the picture moves up and down. I find this to be a really cool effect that's cohesive, simple and fun.
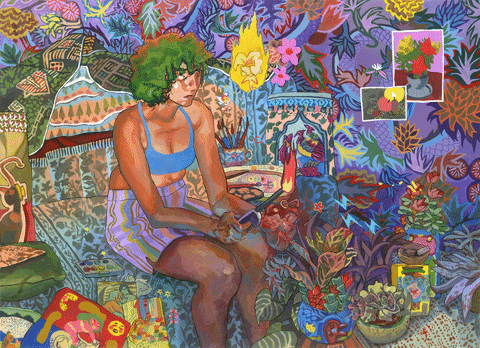
This GIF I find to be very impressive. There is a lot of time and effort that went into creating this GIF. The animation is detailed and looks very realistic. Overall, I found this example to be very creative and unique.
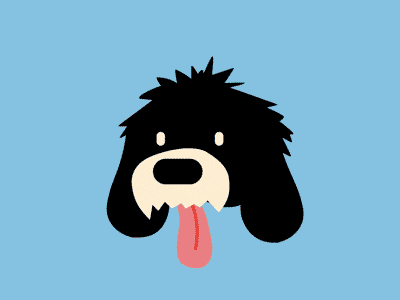
Lastly, I came across this GIF that is a hand-drawn animation. Looking at this example makes me wonder how long it took the artist to create a smooth GIF that has so many elements. The overall look is simple, but the creation is very well thought out and had a lot of time put into it. I also like how there are so many different elements, colors and characters in the GIF. It is a very creative and smooth design.
Create
Cut-Out Image
This is my first ever GIF! I decided to take multiple pictures of my favorite candle on my iPhone, and create a GIF that shows a candle lighting and blowing out by itself. The process was a little tedious, as I had some challenges with lighting. However, I cut out which parts of the candle I thought worked best and used the eraser tool to blend the foreground and background together to keep the flame, wick, wax, candle and background consistent. This was a really fun GIF to work on that allowed me to further explore Photoshop.

Onion-Skinned
My next GIF used the Onion Skinned tool on Photoshop. Creating a virtual hand drawn image was a challenge, so creating circles in different colors helped me figure out how to utilize the onion-skin tool and see how each frame affects one another. This design helped me better understand how to create a hand-drawn GIF and allowed me to explore which colors I could use. A big challenge I faced was a lot of colors being limited on Photoshop. However, I saw what was available and decided to create a simple, fun and trippy image.

Flower Power

For my last GIF, I decided to combine the concepts of my first two GIFs together and create a fun looking image with the cut out technique. I found a free image of flowers on www.freepik.com created by brgfx. When I saw this image, I immediately thought of the cut out technique to bring it to life! The process of creating this GIF took me a little longer than expected and really had me organize each layer in Photoshop. However, it was really fun to create and allowed me to gain a stronger sense on Photoshop animation.